
Clinical Photography 101 for Skin: rulers, lighting and de-identification
You don't need a studio. You need a phone, a paper ruler and a minute of intent. The goal is simple: photos that are clear, measurable and de-identified so your documentation is fast, defensible and useful at follow-up.

You don't need a studio. You need a phone, a paper ruler and a minute of intent. The goal is simple: photos that are clear, measurable and de-identified so your documentation is fast, defensible and useful at follow-up.
Why skin photos fail
Most of the duds come from the same three problems: no scale, bad light and too much person in the frame. Fix those and everything downstream—your paragraph, your measurements, your audit trail—gets easier.
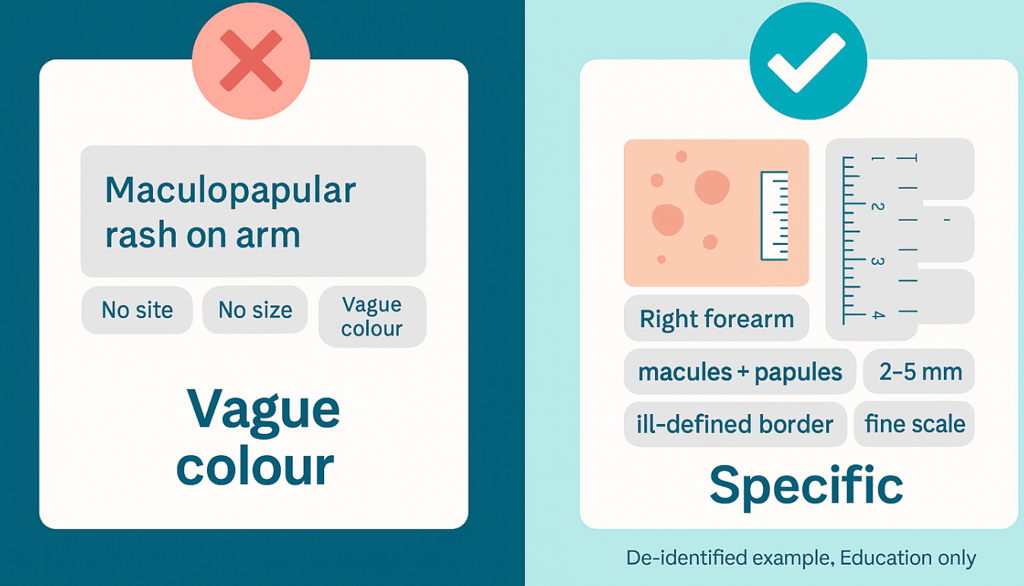
The target in three words
Clear. In focus, straight on, no motion blur.
Measurable. Millimetres visible on a ruler that sits on the same plane as the skin.
De-identified. No faces, eyes, unique tattoos, nipples or genitals; crop to the lesion.
Set-up that works anywhere
Wipe the lens. Use natural light near a window or a bright room with neutral walls. Hand your patient the ruler and ask them to rest it beside the lesion—not over it and not curved around a limb. If the background is chaotic, place a plain sheet or towel under the area so the autofocus stops chasing patterns.
How to shoot (six frames if you have time; three if you don't)
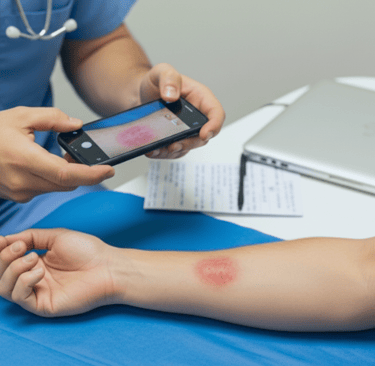
Context
One mid-range shot that proves where on the body you are. It's the breadcrumb for anyone who needs to re-find the spot tomorrow.
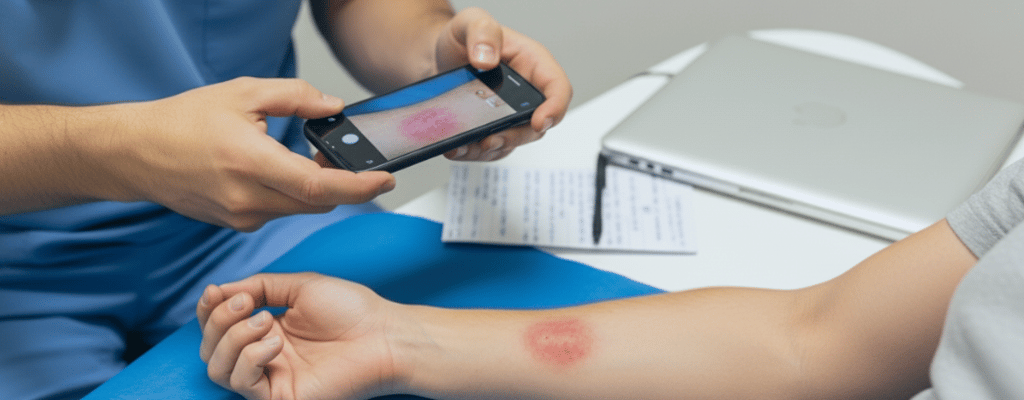
Overview with a ruler
Straight-on, phone parallel to the skin, millimetres readable. This is the image you'll measure from.
Close-up, still orthogonal
Move closer rather than zooming. Lock focus and exposure with a long press. If the phone keeps brightening the image, pull the exposure slider down a touch.
Oblique for surface
Tilt slightly to reveal scale, crust, sheen or verrucous change. It's remarkable how often this angle settles a documentation argument.
Dermoscopy (if available)
Only if you have consent and the tool; otherwise write "dermoscopy not performed".
Follow-up frame
After treatment or at review, repeat the same angles with a ruler. Consistency beats artistry.
Ruler and scale without tears
Keep the ruler on the same plane as the skin; if it arches around a calf, your measurements will be wrong. If you forgot a ruler, take a second image with a known proxy (a coin or tape edge) and say so in your note. If there's no scale at all, resist the urge to guess and write "size not assessable".
Light and colour that tell the truth
Daylight is your friend. Shadow across the lesion will mimic border irregularity; colour casts from theatre lights will lie about erythema. If you must use flash, soften it by stepping back and zooming slightly, then correct exposure before you shoot. On darker skin tones, expect erythema to appear violaceous or as a change in surface and border rather than "red"—describe what you see, not what you expected.
De-identification and consent
Crop tightly to the area with a modest margin. If any potentially identifying detail sneaks in, blur it before saving. A plain, practical line to keep with the image helps later: "Clinical photograph captured and stored in the record; de-identified (no face/tattoos/private anatomy)."
File naming and storage that future-you will love
Keep it boring and searchable:
YYYY-MM-DD_site_laterality_caseID.jpg
Attach the image to the encounter straight away. If your system allows, add a one-line caption: "straight-on with mm ruler" or "oblique showing scale".
If you only have sixty seconds
Clean lens. Daylight. Phone parallel.
Ruler beside lesion, same plane, mm readable.
One context shot; one straight-on with ruler; one oblique for surface.
Crop to lesion; exclude face/tattoos/private anatomy.
Name file: YYYY-MM-DD_site_laterality_caseID.jpg.
Attach and note method: "scale present" or "size not assessable".
Common problems and quick fixes
Glare on shiny skin? Step back, lower exposure and try the oblique angle.
Everything soft? Brace your elbows and hold your breath for the shot.
Colour looks odd? Move away from coloured walls and turn off the neon task light.
Can't tell if it blanches? If you didn't test it, write "blanching not assessible" and stop guessing.
Bottom line
A good clinical photo isn't pretty; it's useful. Straight-on, ruler visible, honest lighting and no identifying features. Do that, and your written description becomes faster, your measurements are trustworthy, and your follow-up comparison is painless.
Connect
Stay updated with our latest healthcare insights.
Support
Info
dermdescribe@gmail.com
© 2025. All rights reserved.